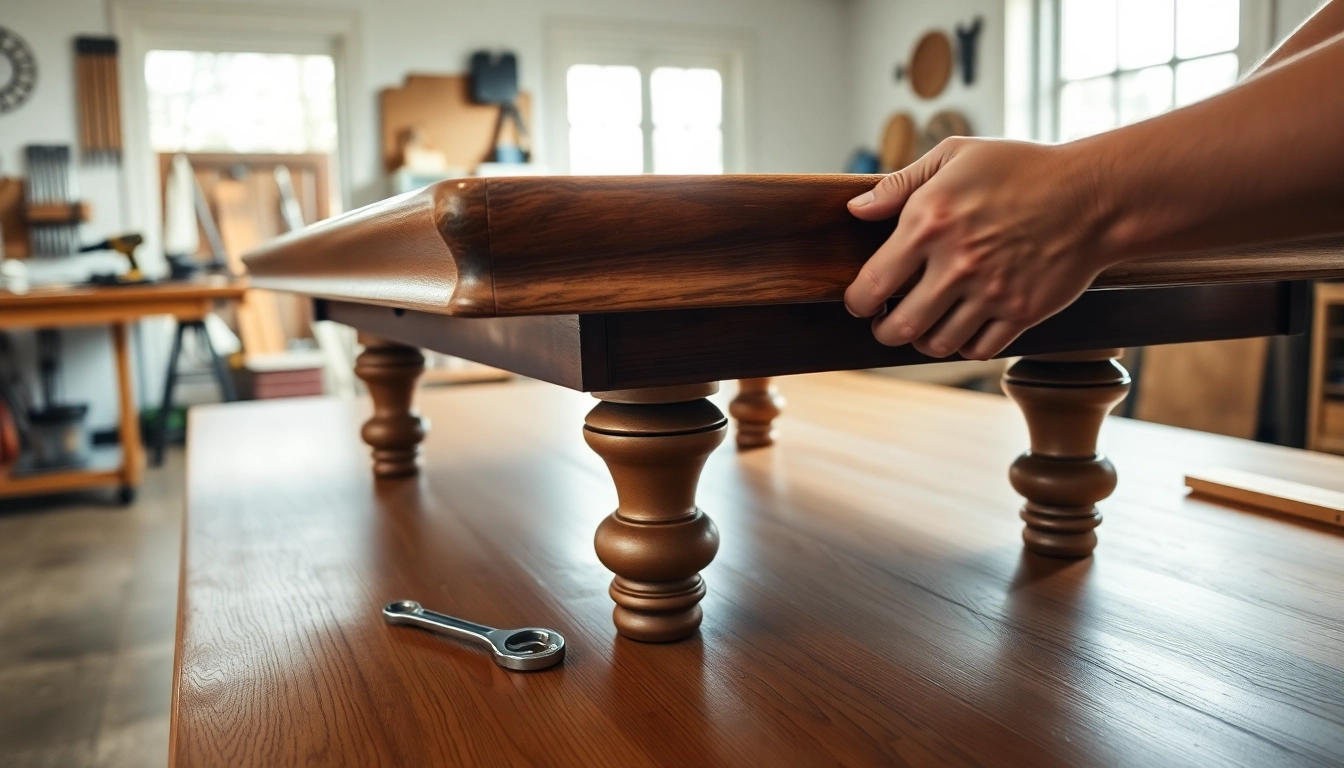
Understanding the Basics of Pool Table Disassembly
What is Pool Table Disassembly?
Pool table disassembly is the process of taking apart a pool table for purposes such as moving it to a new location, refurbishing it, or performing maintenance. This process involves carefully removing various components like the pockets, felt, frame, and slate to avoid damage and ensure safe transportation. Understanding the steps involved in disassembly can make it easier to manage the heavy and often cumbersome components effectively.
Why Disassemble Your Pool Table?
There are several reasons why one might need to disassemble a pool table. Whether relocating to a new home, redecorating a room, or repairing damaged parts, disassembly allows for easier handling and reduces the risk of damaging the table during transport. Furthermore, disassembling a table might be necessary for thorough cleaning or to recover the felt and replace aging or worn-out components.
Common Tools Required for Pool Table Disassembly
The right tools are crucial for a successful disassembly process. Below is a list of common tools you may need:
- Wrenches: Essential for loosening and removing bolts.
- Screwdrivers: Needed for unscrewing various components.
- Pliers: Helpful in gripping and maneuvering tight spaces.
- Utility Knife: Useful for cutting felt or securing materials.
- Staple Remover: Important for removing staples from pockets and felt.
Key Steps in Pool Table Disassembly Process
Preparing Your Workspace
Before you begin disassembling your pool table, it’s important to prepare your workspace to ensure a smooth process. Start by choosing an area with ample space to lay out all components. Clear the area of any obstacles, and gather all necessary tools in one location. It’s also advisable to have heavy blankets or protective mats on hand to cushion the slate and other components as they are removed.
Removing the Accessories
Begin the disassembly process by removing all accessories from the table. This includes cues, balls, racks, and any decorative items. Next, take out the pockets, which are often held in place by screws or staples. Use a utility knife or staple remover carefully to detach them without tearing them.
Disassembling the Table Frame and Legs
Once the accessories are removed, flip the table upside down to access the frame and legs. Start by unscrewing or unbolting the legs from the table. After the legs are detached, proceed to remove the frame. Depending on the design, the frame may have multiple bolts or screws. Ensure to keep these components organized for reassembly.
Challenges You Might Encounter During Disassembly
Handling Heavy Slate and Components
One of the most significant challenges during disassembly is the slate, which can weigh 200-300 pounds. It’s essential to gather enough people to lift it safely. Always lift from your knees and keep your back straight to avoid injuries. Using a dolly or slider can also help in transporting the slate without damaging it.
Dealing with Stuck or Rusty Screws
It’s common to encounter screws that are stuck or rusty. In such cases, applying penetrating oil can help loosen them. Allow the oil to sit for a few minutes before attempting to unscrew them. If the screws remain stubborn, consider using a screw extractor tool to remove them without damaging the table.
Identifying the Right Techniques for Different Table Types
Different types of pool tables may require various disassembly techniques. For instance, coin-operated tables might have additional components linked to their mechanisms. Familiarizing yourself with the particular model of the pool table you’re disassembling will help you apply the correct approach for each step.
Best Practices for Safe and Efficient Pool Table Disassembly
Following a Logical Sequence
When disassembling a pool table, it’s crucial to follow a logical sequence to avoid confusion and ensure that no components are damaged. Always start with the accessories, followed by the felt, and then the structure of the table. This systematic approach will help streamline the process and make reassembly much easier.
Using the Right Tools to Avoid Damage
Using the appropriate tools not only speeds up the disassembly but also minimizes the risk of damaging your pool table. Avoid using makeshift tools that may strip screws or cause scratches. Invest in a quality set of tools explicitly designed for this kind of task.
Ensuring Safety While Disassembling
Safety should always be a priority during disassembly. Wear sturdy gloves to protect your hands from sharp edges, and consider using safety glasses to shield against flying debris. Encourage everyone involved in the process to communicate effectively, especially when lifting heavy components.
FAQs About Pool Table Disassembly
How Much Does It Cost to Disassemble a Pool Table?
The average cost can range from $100 to $400, depending on the table's complexity and local rates.
How Long Does It Take to Disassemble?
Typically, disassembly takes around 2-3 hours, but it may vary based on the table size and type.
Can I DIY Pool Table Disassembly?
Yes, with the right tools and careful following of steps, many people can disassemble a pool table themselves.
What Tools Do I Need for Disassembly?
Essential tools include wrenches, screwdrivers, pliers, and possibly a staple remover for pocket removal.
Is Professional Help Recommended?
If unsure or uncomfortable with heavy lifting, hiring professionals can save time and prevent damage.
In conclusion, understanding the process of Pool Table Disassembly can make any relocation or refurbishment project manageable. By preparing properly, using the right tools, and following best practices, you can successfully navigate the disassembly and ensure your pool table is ready for its next chapter.